Quick Disconnect Installation Guide
CTC Quick Disconnect Series mounting systems are engineered specifically for use with triaxial sensors, enabling highly repeatable and reliable vibration measurements across portable routes.
A permanently-installed stud provides a consistent mounting location. The mating receptacle features a triaxial locating notch and 1/4-turn engagement onto the stud, ensuring the sensor is oriented in the same position when connected to the stud for every reading.
Watch this video to see how the stud and receptacles mate together:
CTC offers Quick Disconnect solutions for wired triaxial and biaxial accelerometers, as well as wireless triaxial sensors.
QUICK DISCONNECT RECEPTACLES
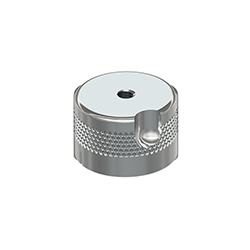
MH106-1A
Quick disconnect receptacle with 10-32 tapped sensor mounting hole

MH107-1A
Quick disconnect receptacle with 1/4-28 tapped sensor mounting hole

MH107-3A
Quick disconnect receptacle with 1/4-28 adjustable orientation integral stud mounting bolt
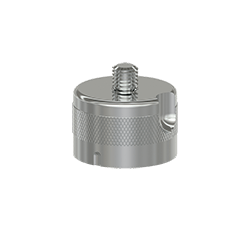
MH107-5A
Quick disconnect receptacle with M6 adjustable orientation integral stud mounting bolt
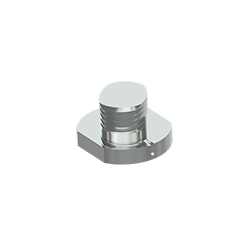
QUICK DISCONNECT STUDS

OVERVIEW
The installation photos used throughout this page are provided by our friends at JetTech Mechanical and showcase proven field techniques and best practices for achieving successful, repeatable Quick Disconnect installations.
There are two common and effective installation methods for Quick Disconnect Studs:
1. Adhesive Mounting
2. Through-Hole Mounting
Each method supports consistent sensor placement, improved data repeatability, and long-term monitoring performance.
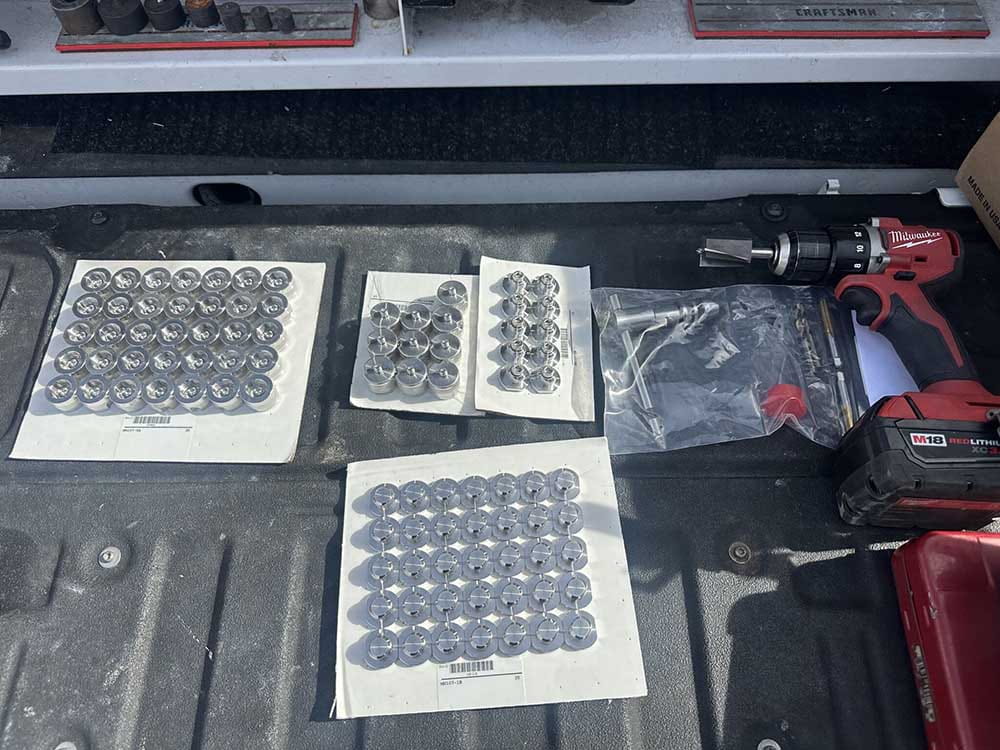
Fig. 1
Mounting hardware needed - CTC Quick Disconnect Studs, Receptacles, MH117 Series installation tool kit, and a right-angle drill
SURFACE PREPARATION AND TOOLING OPTIONS
Before installing a CTC Quick Disconnect base, proper surface preparation is critical to ensure a flat, clean, and repeatable mounting interface. CTC offers Quick Disconnect studs designed for adhesive-mounted and through-hole (drill-and-tap) installations - both fully compatible with CTC MH117 Series accelerometer installation tool kits.
Adhesive Mount Preparation:
Spot face the area to create a flat surface and remove paint, coatings, and debris prior to bonding.
Through-Hole Mount:
Use the combination spot face and drill feature to prepare the surface and drill the mounting hole in a single step, then tap the threads to complete the installation.
MH117 Suggested Options:
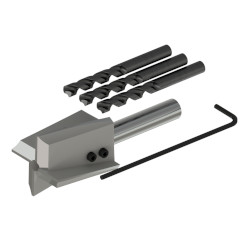
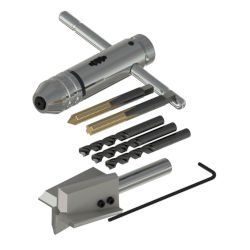
Watch our video on how to use the MH117 Series Accelerometer Installation Tool Kits for an in-depth look at how to use the kit in the field:
INSTALLATION

Fig. 2
Using a right-angle drill is key to creating a flat surface with the spot face tool

Fig. 3
Prepared surface for an adhesive mount
Adhesive Mounting:
CTC's MH109-2A two-part Devcon Plastic Welder is recommended for the installation of adhesive mounts and offers a strong, permanent adhesion. The bottom of CTC MH107-1B adhesive mount studs feature a roughened surface for strong adhesion.
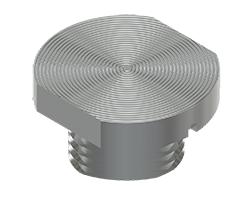

Fig. 4
MH109-2A two-part Devcon Plastic Welder being dispensed

Fig. 5
Completed and cured adhesive installation of MH107-1B Quick Disconnect Stud
Through-Hole Mounting:
For through-hole mounting applications, thread and mounting bolt fully into the tapped hole until until the base seats flush against the surface. If the surface is not perfectly flat, epoxy may be used as an optional gap-filling measure to improve contact and long-term stability.

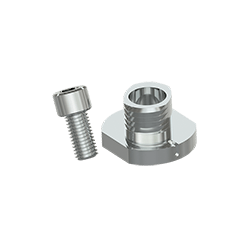
Fig. 6
Completed through-hole mounting installation of an MH107-2B Quick Disconnect Stud